Devices
Cameras
The DSL Camera
This is the camera on the tripod, right behind the AV2 monitor. This camera is capable of capturing crisp, high-framerate video, and is great for zooming in close on the stage. In OBS, we refer to this as the “close camera”.
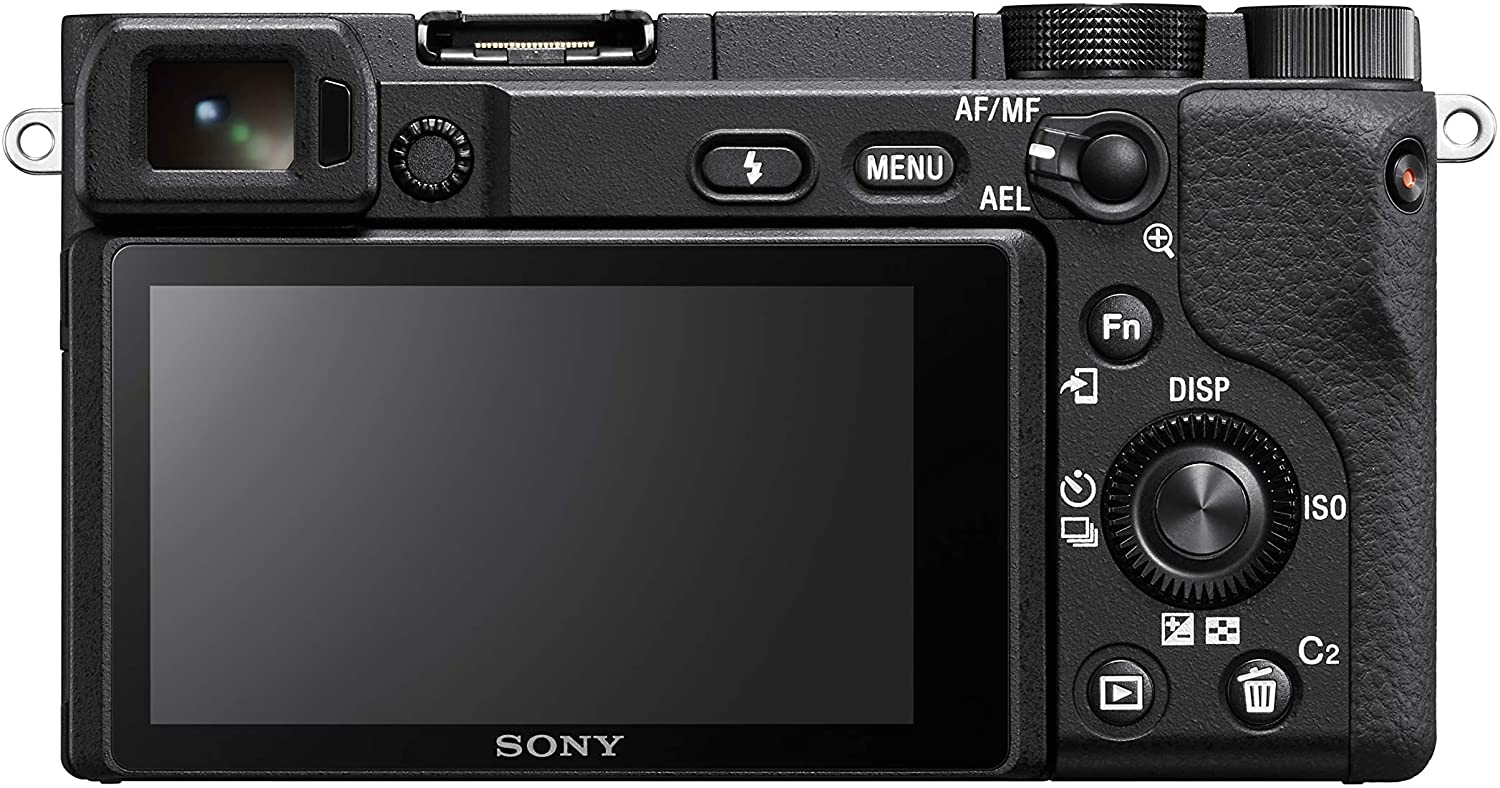
The zoom is adjusted by twisting the zoom control on the lens itself. Go slow!
Exposure settings
There are several ways to adjust the camera’s exposure, to ensure that the image is clear, crisp, and looks good over the stream.
Finding a good balance can be tricky. If the pastor is wearing a bright white shirt, or standing a little further forward under the main spot light, you may need to adjust.
You can use the suggested settings below as a starting point. If you need to make any adjustments, adjust the settings in the order that they are listed below.
Also, try not to make these adjustments while the feed is live, as the change can be sudden and noticeable. Maybe switch to the wide cam for a second, or make the change during the announcements video. You won’t always have that option, though.
Suggested Settings
| Settings | Value |
|---|---|
| Aperture | F7.1 |
| Shutter Speed | 1/80 |
| ISO | 4000 |
Aperture
Also known as “f-stop”, the size of the opening that lets light into the camera. A larger number means a smaller opening.
A large aperture (small f-stop) lets in lots of light, but will only focus on a specific distance. Anything closer or further than the focus distance will appear blurrier. Sometimes that’s a desired effect!
A small aperture (large f-stop) lets in less light, but more things will be in focus.
Shutter Speed
How quickly the camera is capturing individual frames of the video. Faster shutter speeds capture smoother video, but less light.
Do not set this lower than 1/60! The stream goes out at 60 frames per second, and if the shutter speed is slower than this, the stream becomes visibly choppy.
ISO
The “film speed”, or how sensitive the light sensor is. Higher values can pick up more light, but the tradeoff is an increasingly grainy appearance to the video.
Read More
The camera manual can be found right here, and goes through even more details about how this thing works. You probably won’t need this, but just in case.
The camcorder
This used to be our main streaming camera. The picture quality isn’t as good, but it can capture a wider field of view. Good for wide shots of the congregation and for fitting the entire worship band in the shot at once.
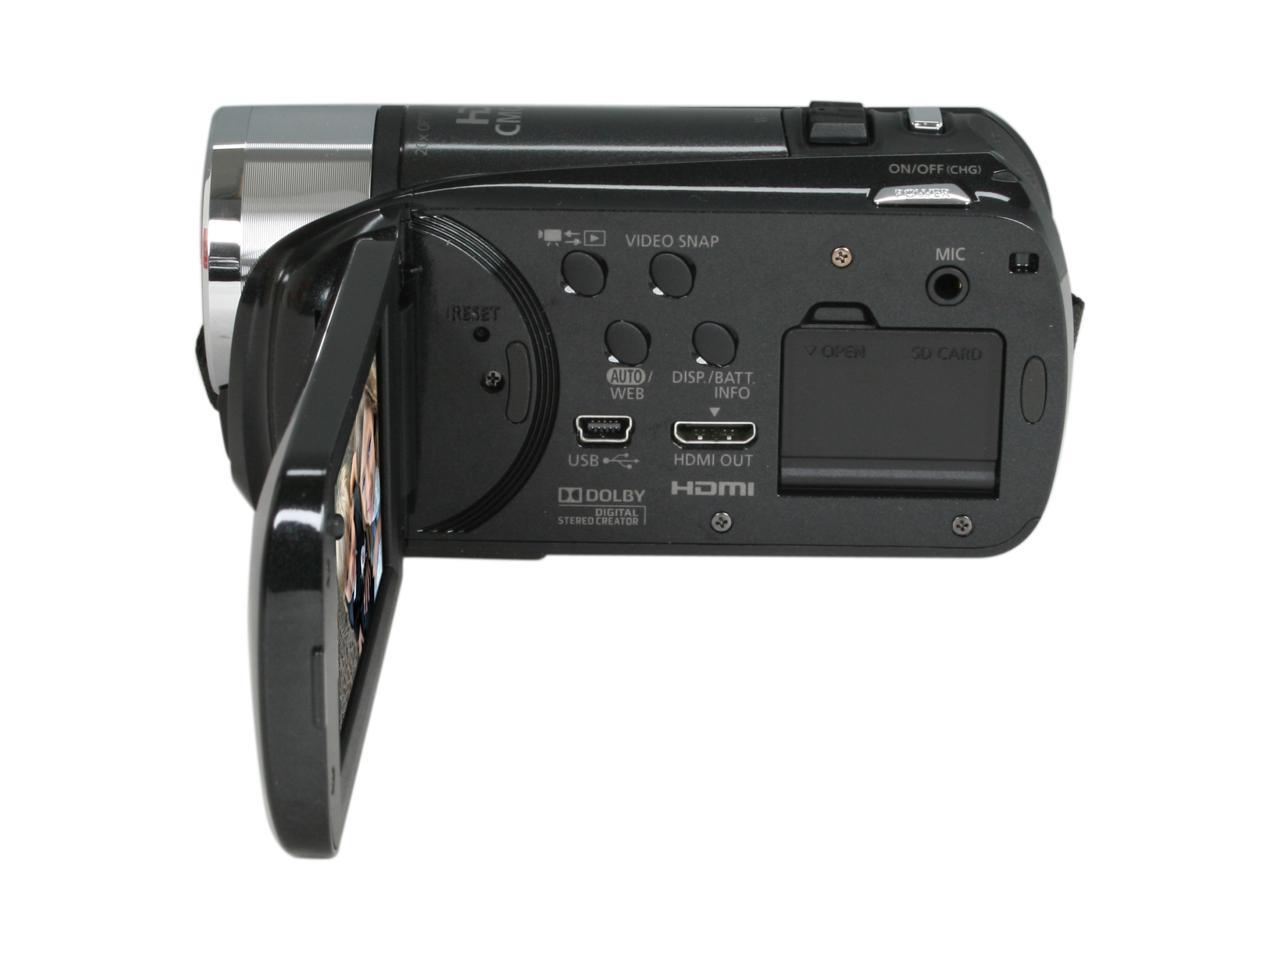
This camera can zoom, but it’s best to leave it at a wide shot and do any closer shots with the other camera instead.
Adjusting Settings
Adjusting this camera’s settings are accessed through the touch screen itself. The settings are more limited on this camera, so you probably don’t need to do this.
Overall: leave this camera like it is.
Read More
The manual for this camera is right here.
Camera Inputs
Both cameras have an HDMI out that runs directly into the AV2 machine via a video capture card. The cameras are configured for video output already, and shouldn’t need any adjustments.
Lighting
Stage Backdrop Colors
Board / Light Setup
Setting up the Lights
Power
Behind the keyboard, next to the stage door, there is a panel of switches. The far left switch is for the lights, so make sure it’s on.
The boards themselves also have power switches on the back, to the right. You’ll know the boards are on if the digital number displays show something.
Configuring Lights
On each board, click the buttons on the left side to select which channel you are configuring. When the light next to the button is on, the channel is active, and adjusting the sliders will change that channel’s settings.
You can configure multiple channels at once. This is particularly useful if you want the left and right sides to match.
Sliders
The sliders, numbered from left to right, control the following:
- Overall Brightness
- Red
- Green
- Blue
You shouldn’t need to adjust the other sliders, those control effects and features that we do not use.
Light colors follow an additive color model. Having all colors at 100% gives white light. Red and green with no blue yields yellow, etc.
The sliders can be very touchy, and sometimes have a delay between your adjusting and the light changing. Move the sliders very slowly!